Getting the Most from the Out-of-the-Box Modern Web Part Series: The Image Web Part
The Image web part is one of the new SharePoint Framework (SPFx) web parts available to users out-of-the-box. Just as it’s name eludes to, it allows for users to add an image into a canvas on their page.
Functionality:
- Inserting an Image
- Alternative Text
- Caption
- Panel with additional editing options:
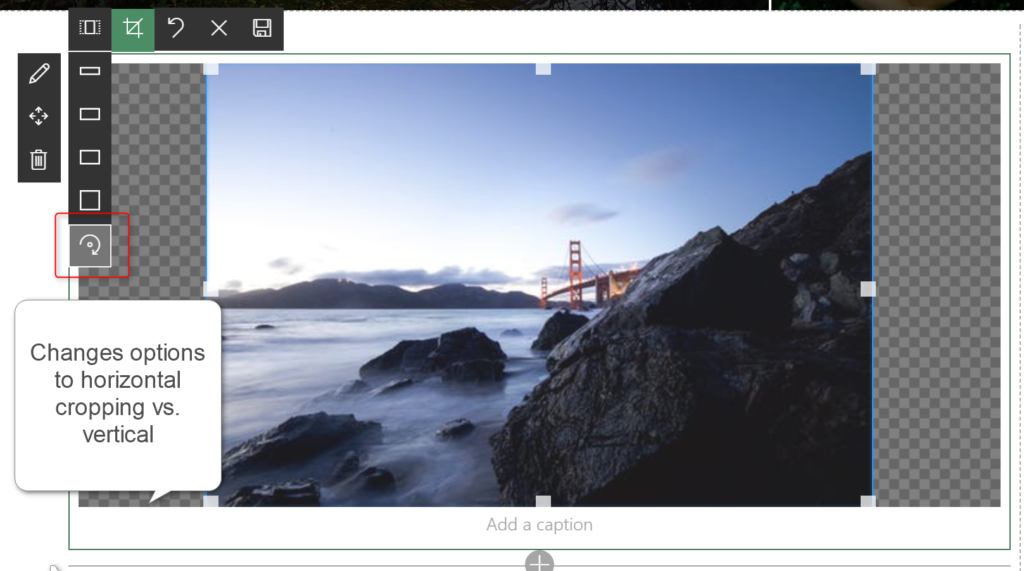
- Select Aspect ratio (choose between vertical or horizontal cropping options)
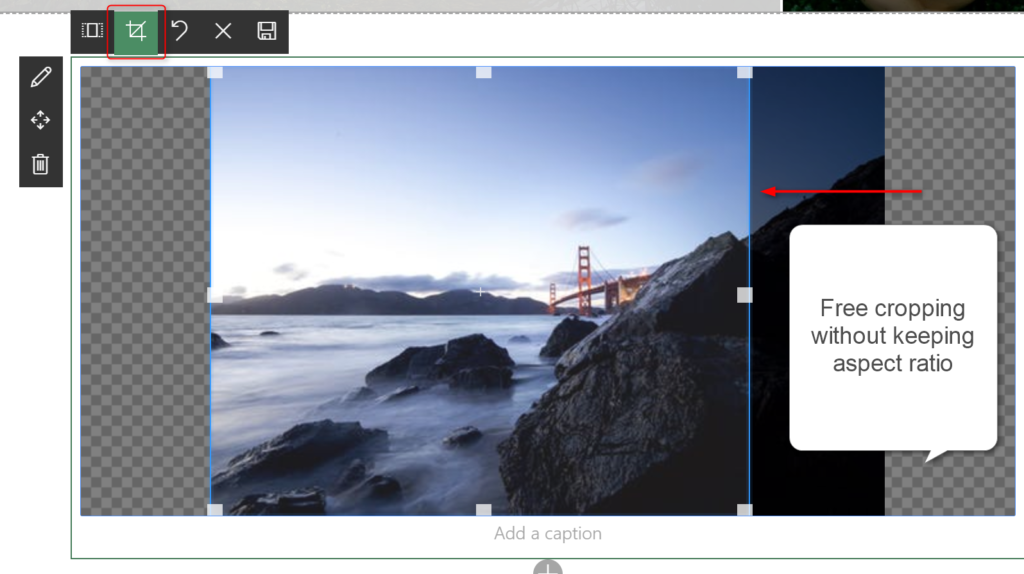
- Crop with free ratio
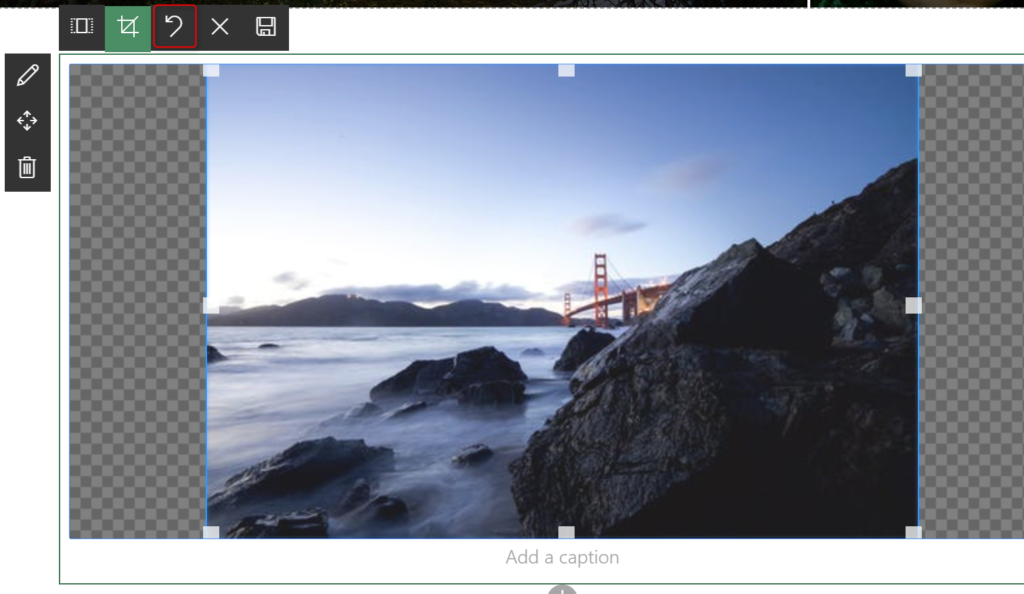
- Undo last change
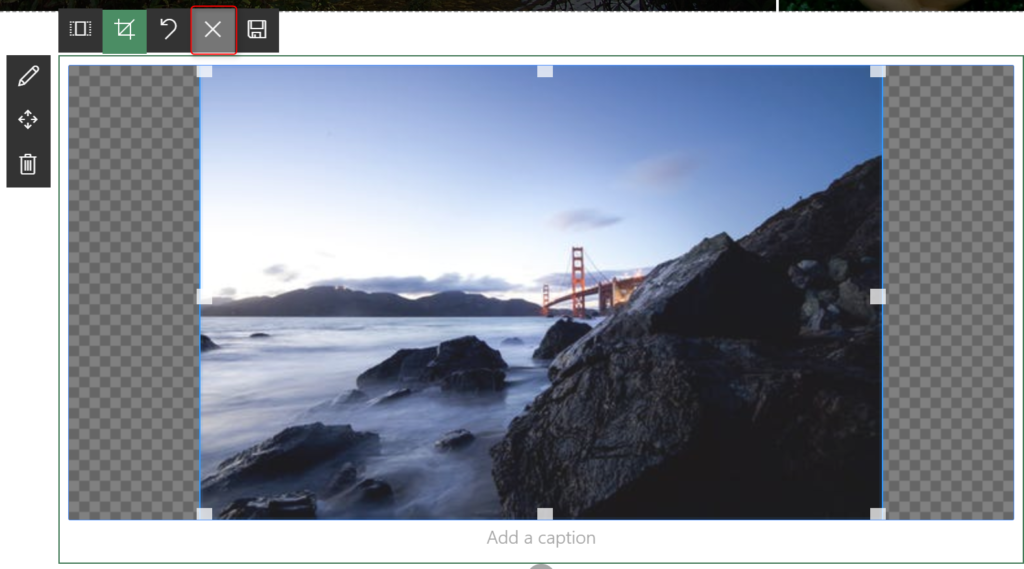
- Rest to original
- Preview /save in Canvas
How to use:
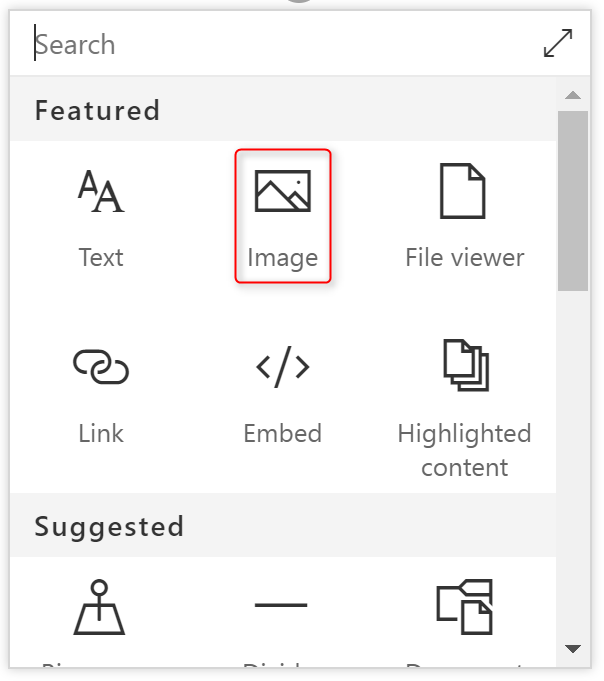
Select the canvas you want to add the Image web part to and select the “+”. Select the “Image” web part from the tool box.
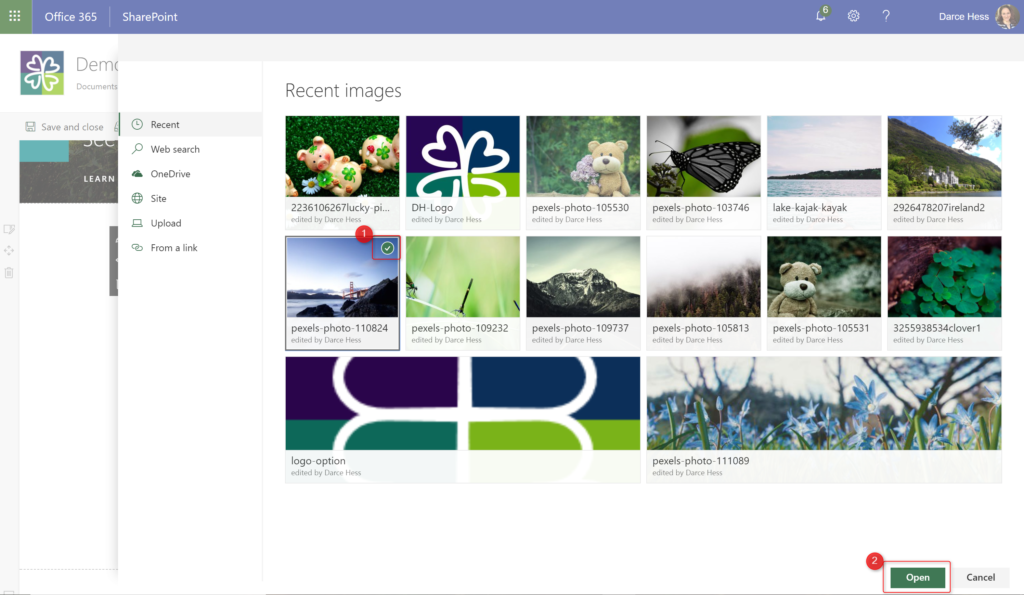
You will be directed straight to select an image or upload an image. To select an image, select the check mark in the upper right corner of the image. Once selected, click the “Open” button at the bottom of the window to insert the image into the canvas.
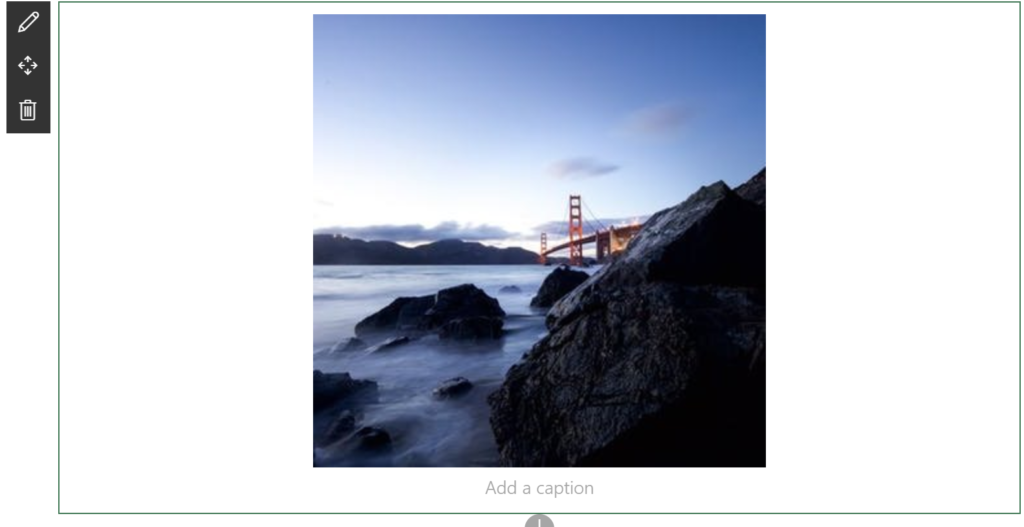
The image has now been added.
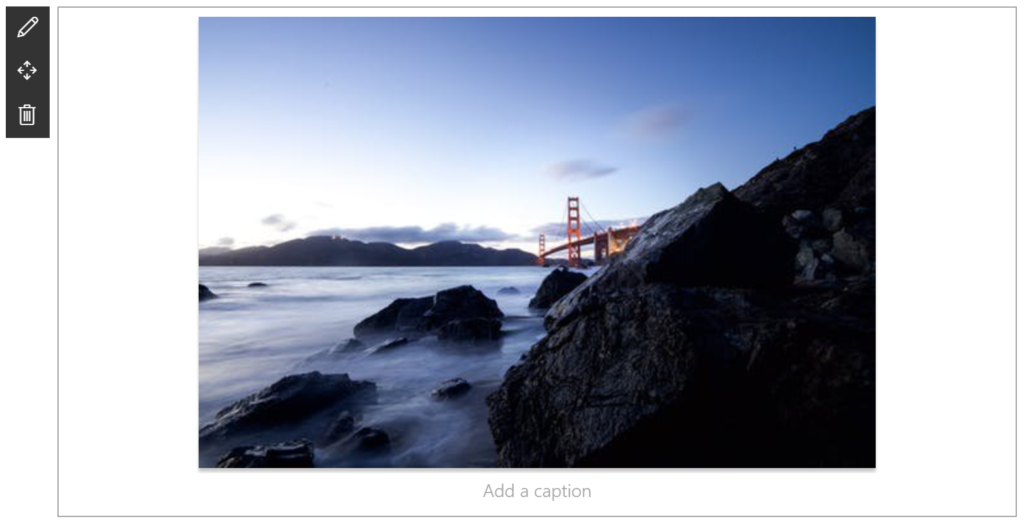
The image will always appear centered in the canvas with an automatic margin on both sides.
To edit the image, click once on the image to show the additional edit panel.

The first editing option is to select the aspect ration. This features allows for a user to crop their image to a specific ratio after image has already been added. The default option starts with a vertical cropping.
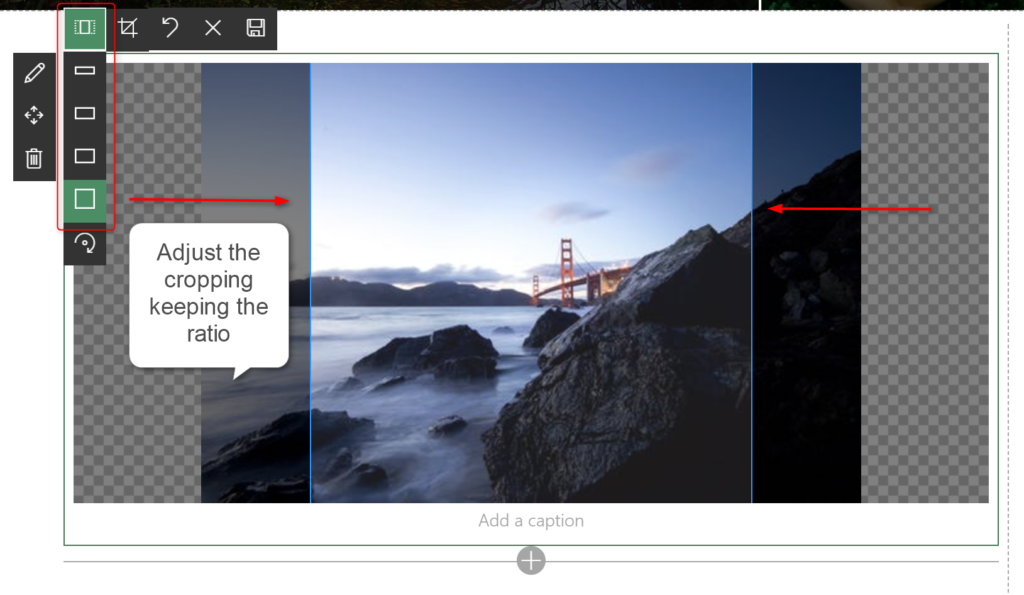
The last option in the drop down is to rotate the cropping to a horizontal cropping.
To only crop the image without keeping an aspect ration, select the “crop” icon in the menu.
If you want to undo a previous edit to the image, select the “undo” icon from the menu.
The “reset” option will remove all changes and rest the image to the original image uploaded.
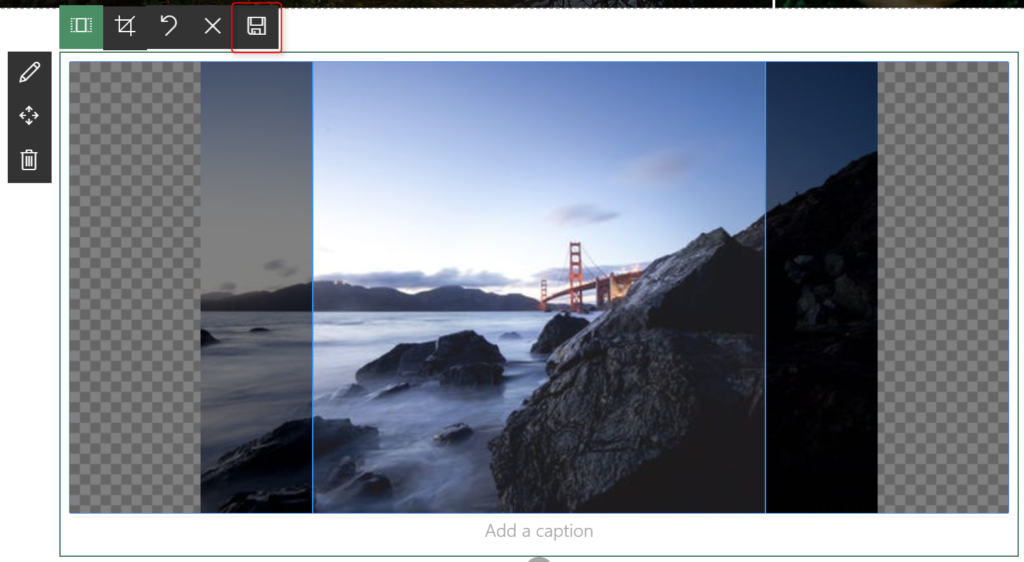
Once you have made all your changes, you can save and preview the image by selecting the “save/preview” icon in the menu. It will save you changes and will close the edit menu.
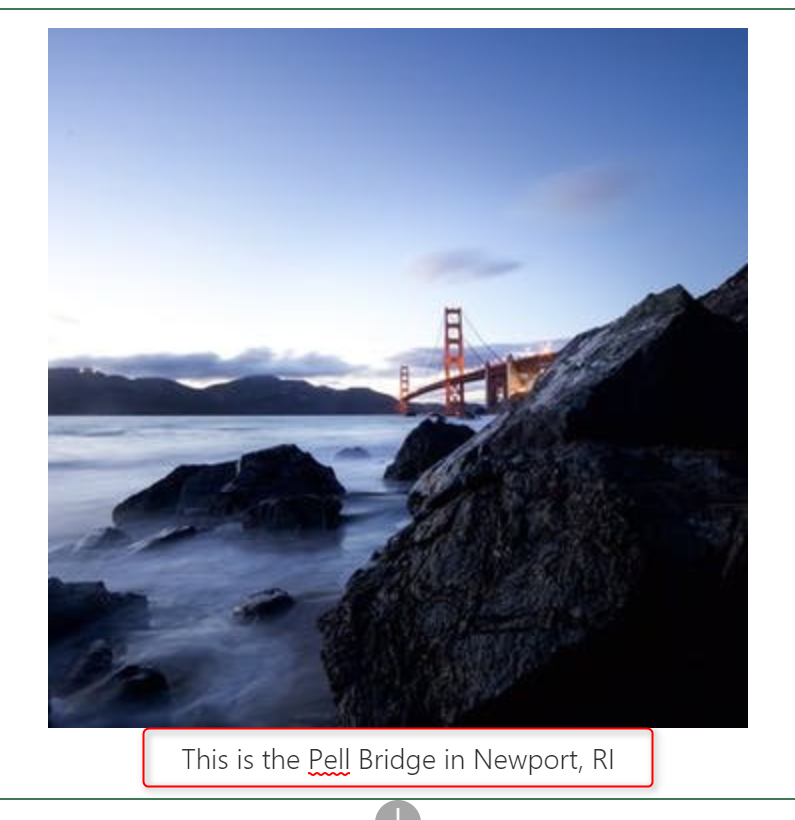
Be sure to add a caption by typing in the caption area below the image.
To add the alternative text for the image, select the “pencil” icon on the left side of the webpart to open the edit panel.

If you are unfamiliar or need advice on what to place for the Alternative Text, click on the “More information and examples” link in the edit panel. It will take you to WebAIM website to learn about accessibility.
Best Practices:
- Use high quality images when possible. There are several options for free images available:
There are others, but can’t give away all of my secrets just yet.
- Images should be relevant to the content on the page. For example, don’t use an image of a kayak if the content is about getting a good night’s sleep.
- The caption and alternative text should describe what is in the image.
- If you want to reuse images again, store images in a document library. Just uploading will store them in the page.
Closest Web Part in Classic Experiences:
- Image column placed inside custom page layout
- Add an image in Content Editor Web Part
- Image Viewer Web Part
Feature Limitations:
- Image will always be centered in the canvas area. No alignment capability.
- No option to switch out the image. Web Part needs to be deleted and re-created with a new image
For the Developers:
All images used with this webpart are being resized using a microservice. This means that a 400MB image that was uploaded is returning at 5MG after the microservice to improve performance and load times.