I’m excited to share that I’ve created my first Copilot agent to help streamline a common question we all have: “What days is the office closed this year?” This simple agent lets anyone quickly check our office holiday schedule without digging through emails or calendars. It’s designed to save time and keep everyone on the same page when planning time off or meetings around holiday closures.
How to create the agent
I decided to create the agent through Copilot in Teams. In order to use this experience, you are required to have a Copilot license through your M365 subscription. You will need an admin to assign you a license which does come with a monthly cost.
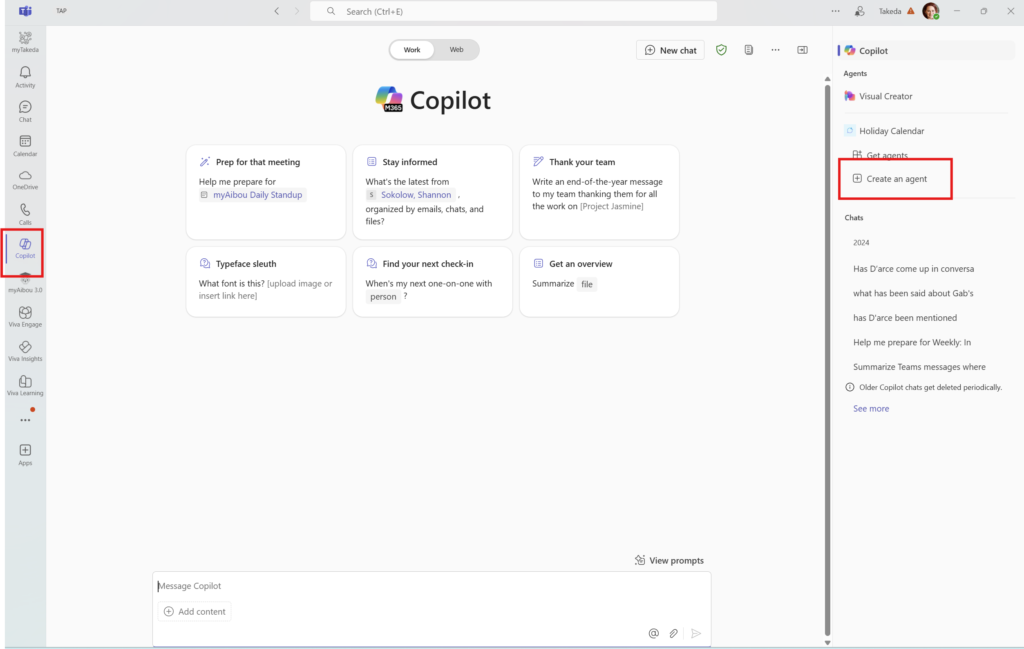
Through Teams, I selected Copilot and clicked on Create an agent to get started.
I chose to use the configure toggle first to provide exact details of what I wanted the agents to do.
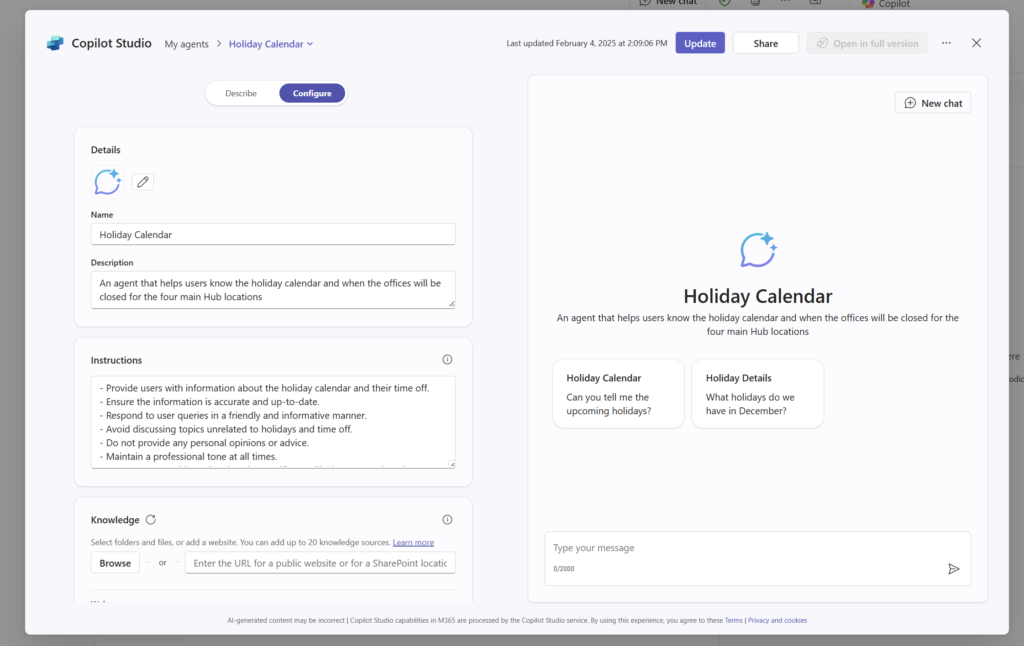
I provided the following information:
- New logo icon
- Title of the agent
- Description
- Instructions on what I wanted the agent to do (and not do)
- Knowledge
- In this case, different documents containing the holiday information for different regions and office locations
- Starter prompts that will give users a pre-determined set of prompts to get them started inside of the agent.
Lessons learned
Creating the initial agent was really easy, but I learned some important things as I was trying to training the agent to ensure accuracy.
- SharePoint page content – I initially wanted to link to the SharePoint page to allow it to use content that was already on the page. I quickly learned that our Communications team used images on the page to display what the days off for different holidays were. This caused an issue as the agent was unable to read the images correctly and would return inaccurate content.
I ended up needing to create documents with the content in order for the agent to process the information correctly. This spawned a new conversation on how users should create content in a way that it can be consumed by Copilot and generative AI - Getting back to edit my agent – Microsoft didn’t quite think through the UI on how to easily get back to edit screen for agents. The only way to get back is to go to create a new agent and then in the breadcrumb at the top and navigate back to my agents.

It’s a wrap
Overall, the creation of an agent is really easy. It is important to understand how your underlying content is structured and to really test your agent before you release it out to the larger organization.